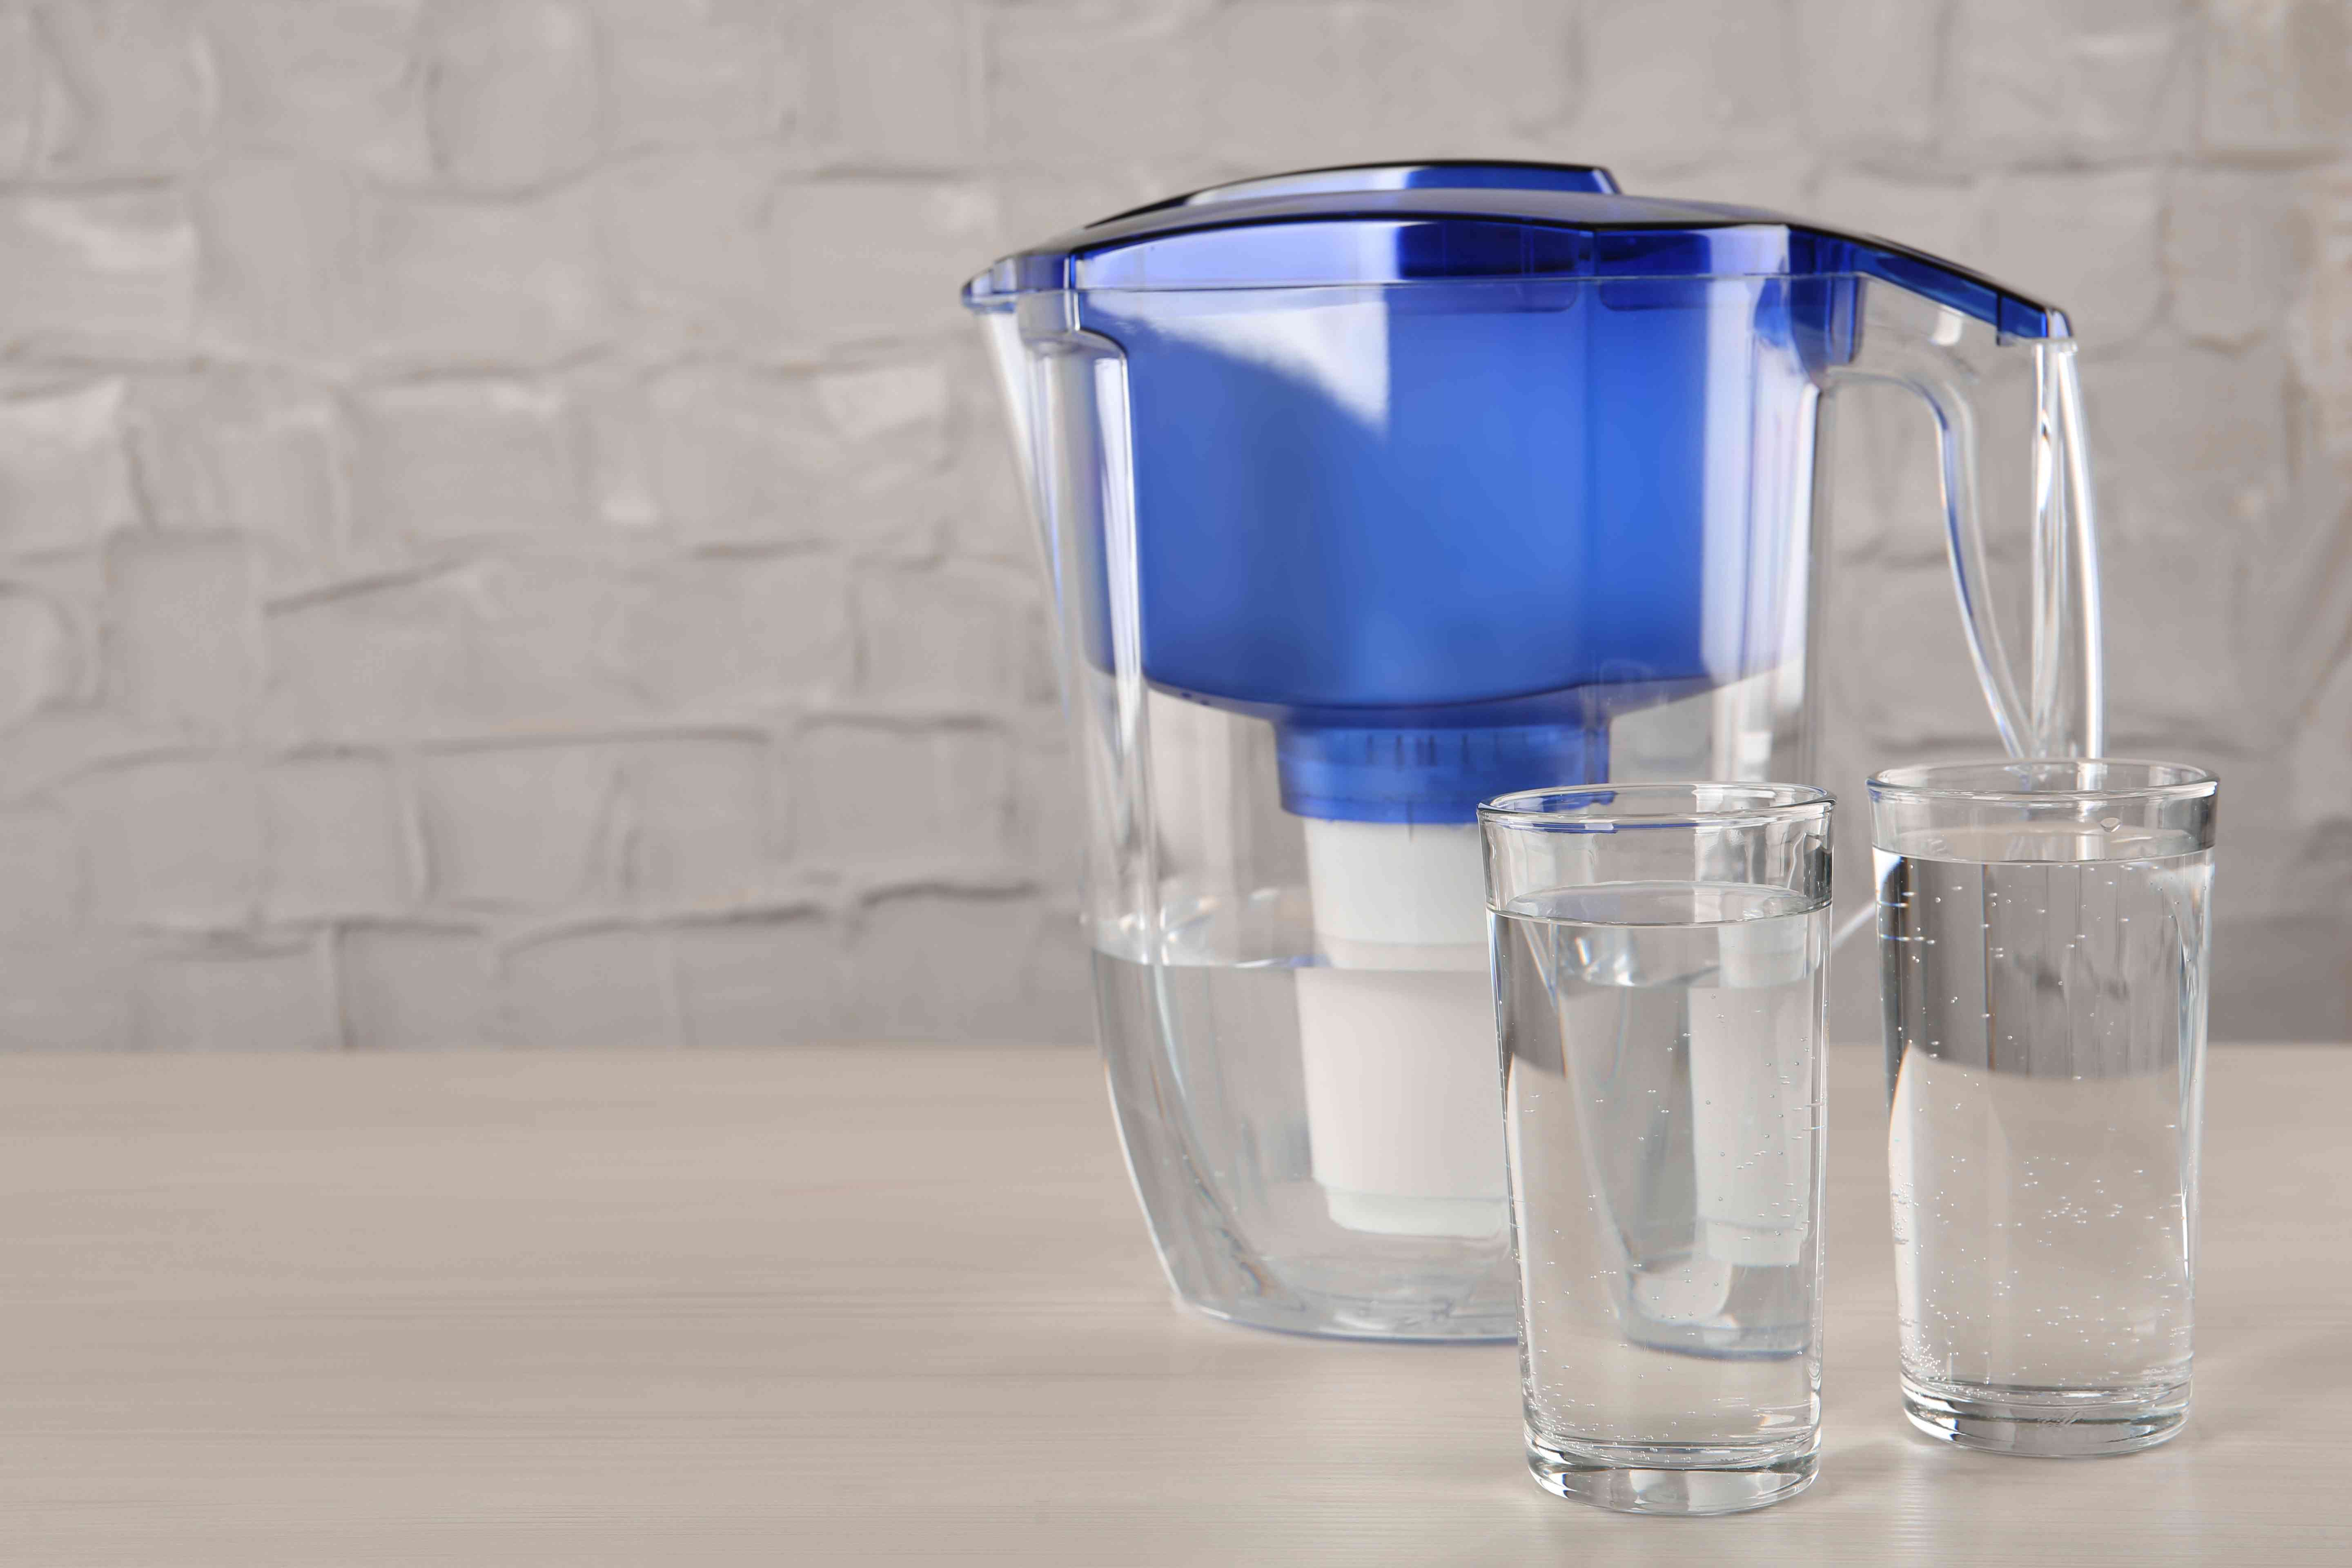
Filtered water is a staple for many households, and a Brita pitcher is a popular choice for ensuring clean, fresh drinking water. However, to maintain the quality of your water and the longevity of your pitcher, regular cleaning is crucial. Follow these expert tips to keep your Brita pitcher spotless and functioning optimally.
Why Regular Cleaning Is Important
A Brita pitcher helps remove impurities from tap water, but over time, the pitcher itself can become a breeding ground for mold, mildew, and bacteria. If not cleaned regularly, these contaminants can affect the taste of your water and potentially compromise your health. Regular cleaning ensures that your pitcher remains hygienic, efficient, and effective at filtering your water.
How Often Should You Clean Your Brita Pitcher?
-
Monthly Cleaning: For optimal performance, clean your Brita pitcher approximately once a month, especially if you use it frequently. This helps prevent the buildup of grime and algae.
-
Filter Change: Each time you replace the filter—typically every two to six months, depending on usage—give your pitcher a thorough cleaning. Refer to your pitcher’s guide for specific recommendations on filter replacement intervals.
-
Signs That It’s Time to Clean: If you notice the water flow through the filter slowing down or detect a musty odor coming from the pitcher, it’s a clear sign that it’s time for a deep clean.
Before You Begin: Gather Your Supplies
To start cleaning your Brita pitcher, gather the following supplies:
-
Dish Soap: Use a mild dish soap that is gentle on the pitcher’s material.
-
Nonabrasive Sponge or Dishcloth: Avoid harsh scrubbing tools that could damage the pitcher.
-
White Distilled Vinegar: An effective natural cleaner for removing limescale and mildew.
-
Small Bowl: For mixing cleaning solutions.
-
Toothbrush (Optional): Helpful for scrubbing small crevices.
-
New Brita Filter: Ensure you have a replacement filter ready to go.
Step-by-Step Cleaning Instructions
Disassemble the Pitcher:
-
Empty the pitcher and discard any remaining water.
-
Remove the filter from the reservoir.
-
Separate the lid from the pitcher’s reservoir.
Wash the Lid and Reservoir:
-
Fill the sink with warm water and add a few drops of dish soap.
-
Use a nonabrasive sponge or dishcloth to scrub the lid and reservoir, paying special attention to any crevices.
-
Rinse the lid and reservoir thoroughly with warm water to remove all soap residues.
-
Tip: For hard-to-reach areas, a clean toothbrush can be useful to scrub small crevices effectively.
Remove Limescale and Mildew:
-
If you have hard water, you may notice white limescale spots inside the reservoir. To combat this, mix ? cup of white distilled vinegar with ? cup of water in a small bowl.
-
Dip your sponge or cloth into the vinegar solution and scrub the interior of the reservoir and lid.
-
Rinse the parts thoroughly with clean water and let them air dry or wipe them with a clean, dry cloth.
Reassemble the Pitcher:
-
Ensure all parts are completely dry before reassembling the pitcher.
-
Align the reservoir and lid correctly, making sure the filter vent is facing the back of the pitcher and the "Fill Lid" feature is positioned appropriately.
Replace the Filter:
-
Follow the specific instructions for your Brita filter type:
-
Blue Filter: Insert into the reservoir, press down firmly, add water, discard the first three pitchers of water, then refrigerate.
-
White Filter: Flush with cold water for 15 seconds, insert, press down firmly, add water, discard the first three pitchers of water, then refrigerate.
-
Gray Filter: Flush with cold water for 15 seconds, insert into the filter cage (blue ring up), click into place, connect the filter cage to the lid, activate the electronic indicator, refill, and refrigerate.
Additional Tips for Maintaining Your Brita Pitcher
-
Install a Water Softener: If you have hard water, a water softener can help reduce limescale buildup and extend the time between cleanings.
-
Change Filters Regularly: Adhere to the recommended filter replacement schedule to ensure optimal performance.
-
Avoid Adding Fruit: Refrain from placing fruit or other additives in your pitcher, as they can promote bacterial growth.
-
Rinse Filters: If you notice sediment buildup, rinse filters with clean water. Avoid using soap, which can damage the filter.
Conclusion
Keeping your Brita pitcher clean and well-maintained is essential for ensuring the quality of your filtered water and the longevity of the pitcher itself. By following these expert tips, you can easily manage regular cleaning and filter replacement, ensuring that every glass of water you pour is fresh and safe.
Regular maintenance not only enhances the taste and effectiveness of your pitcher but also contributes to your overall health and well-being. With a few simple steps, you can enjoy the benefits of clean, filtered water and a spotless Brita pitcher.